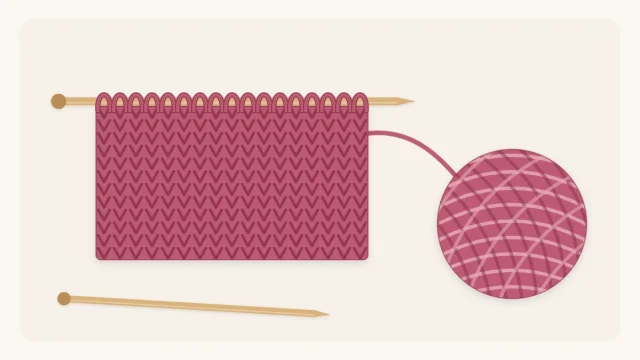
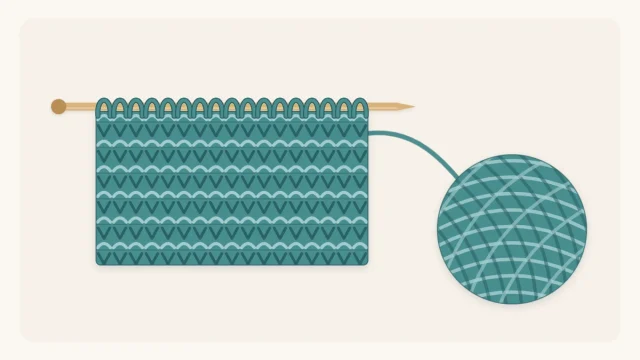
How to Knit Ribbing: 1×1 and 2×2 Rib Stitch for Beginners
Learn how to knit 1x1 and 2x2 ribbing: how many stitches to cast on, how to move the yarn between knit and purl stitches, and how to avoid accidental holes and extra stitches.
Tutorial at a glance
Materials
- Smooth, light-colored worsted-weight yarn
- US 8 (5 mm) needles
- Scissors
- Tapestry needle for the ends
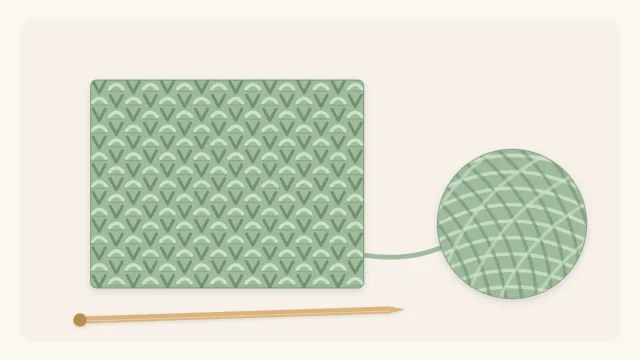
Look at the cuff of a sweater or the brim of a knit hat and you will see rib stitch: neat vertical columns that stretch wide and snap back. It is made with nothing more than knit and purl stitches, combined in the same row.
The only new skill is moving the yarn from back to front as you switch between the two. Get that small move right and ribbing becomes a steady, satisfying rhythm.
What ribbing is and why it stretches
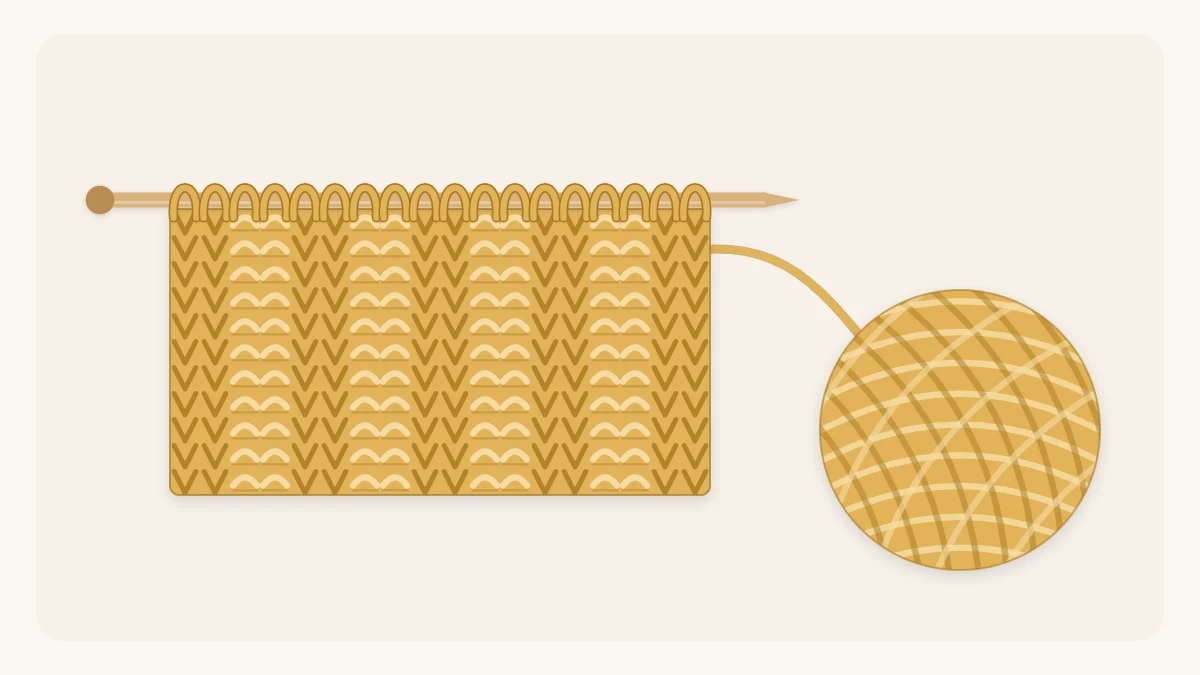
Ribbing stacks knit stitches on top of knit stitches and purl stitches on top of purl stitches, forming columns. The knit columns stand forward and the purl columns sink back, so the fabric draws in like a folded fan. Pull it sideways and the columns open out; let go and they close again.
That is why ribbing is used wherever a knitted piece needs to grip: cuffs, hems, necklines, hat brims and headbands. It also lies flat without curling, and both 1×1 and 2×2 rib look the same on each side.
The key move: yarn back to knit, yarn front to purl
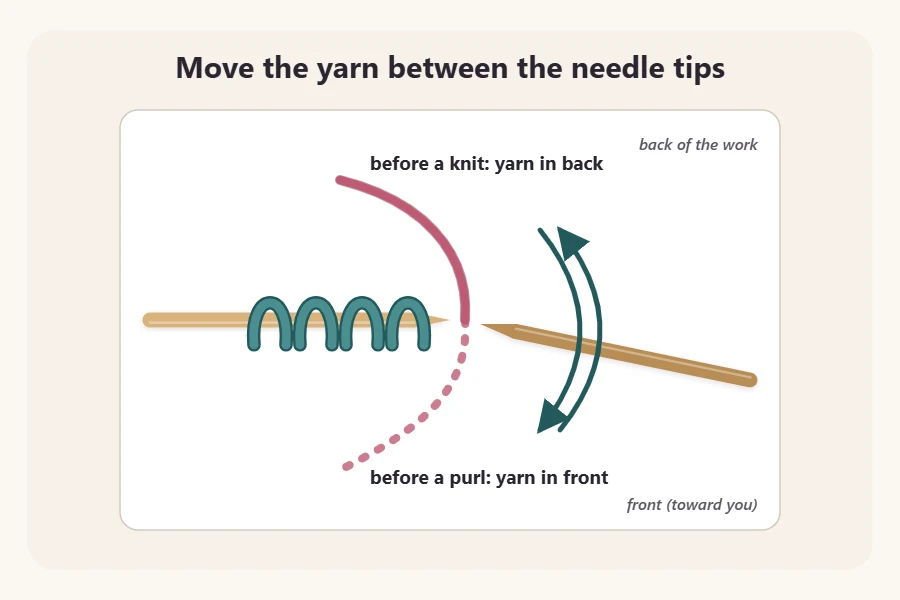
The knit stitch is worked with the working yarn held behind the needles. The purl stitch is worked with it in front. Every time you change from one to the other, the yarn has to change sides first.
- After a knit stitch, before a purl: bring the yarn forward between the two needle tips.
- After a purl stitch, before a knit: take the yarn back between the two needle tips.
Watch out
If the yarn goes over the right needle instead of between the tips, it leaves an extra loop called a yarn over. On the next row that loop becomes an extra stitch with a hole under it.
How to knit 1×1 rib
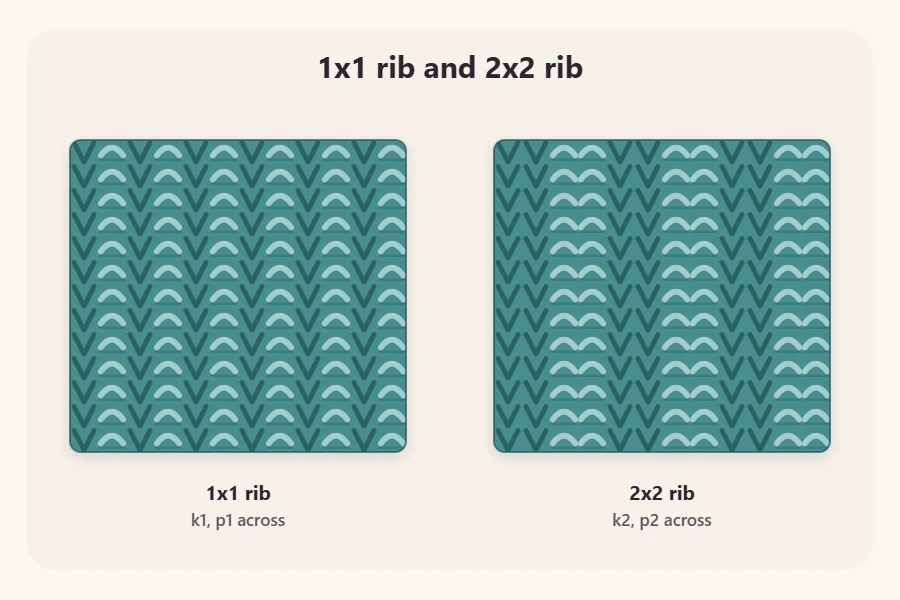
For 1×1 rib, cast on an even number of stitches. Twenty is a good practice size in worsted-weight yarn (medium, #4) on US 8 (5 mm) needles.
The pattern reads: “Every row: *k1, p1; rep from * to end.” Here k1 means knit one stitch, p1 means purl one stitch, and “rep from *” means repeat everything after the asterisk.
- With the yarn in back, knit 1.
- Bring the yarn forward between the needles.
- Purl 1.
- Take the yarn back between the needles.
- Repeat steps 1 to 4 to the end of the row. You will finish with a purl stitch.
- Turn and work the next row exactly the same way.
On an even number every row starts with a knit and ends with a purl, so the columns line up without any thought.
How to knit 2×2 rib
For 2×2 rib the columns are two stitches wide. Cast on a multiple of 4, such as 20 or 24, and work “*k2, p2; rep from * to end” on every row.
If you want both edges to match, with a knit column at each side on the right side (RS), use a multiple of 4 plus 2 stitches (sts) and two different rows:
- Row 1 (RS): *k2, p2; rep from * to last 2 sts, k2.
- Row 2 (WS): *p2, k2; rep from * to last 2 sts, p2.
WS means wrong side. Row 2 starts with purl stitches because the knit column from Row 1 looks like purl bumps from the back.
| Rib | Cast on | Rows |
|---|---|---|
| 1×1 | Even number | Every row: *k1, p1 |
| 2×2 | Multiple of 4 | Every row: *k2, p2 |
| 2×2, matching edges | Multiple of 4, plus 2 | Row 1 ends k2; Row 2 starts p2 |
Reading your ribbing
You do not have to count once the first row is in place. The rule for ribbing is to knit the knits and purl the purls.
Look at the next stitch on the left needle. If there is a smooth V below it, knit it. If there is a bump hugging its base like a little scarf, purl it. Reading the stitches this way lets you pick up your work mid-row and carry on correctly.
Common ribbing problems
Holes and extra stitches
These come from accidental yarn overs, described above. Count your stitches at the end of a row now and then. If the number has gone up, look for a slanted strand sitting on the needle that has no stitch below it. There is more on spotting these in common knitting mistakes.
Columns that break into dots
If you purl a knit stitch and knit a purl stitch, the columns stop stacking and the fabric turns pebbly. That offset texture is a stitch pattern of its own, seed stitch, but in ribbing it means you lost your place. Read the stitches and correct the next row, or undo back to the slip.
A loose knit stitch beside each purl column
The last knit stitch before a purl is often a little baggy, because the yarn travels farther when it moves to the front. Giving the yarn a slight extra tug on the first purl stitch helps. It usually evens out with practice and after washing.
Needle size and binding off
Many patterns ask for the ribbing to be worked on needles one or two sizes smaller than the rest of the piece. Smaller needles make firmer ribs that hold their spring. Follow whatever your pattern says.
When you finish, bind off “in pattern.” That means you knit the knit stitches and purl the purl stitches as you bind them off, instead of knitting them all. Keep it loose, or the edge will not stretch as far as the ribbing below it.
A first project in rib
The easy knit headband pattern uses the matching-edge 2×2 rib above. It takes about 60 to 70 yards of worsted-weight yarn and US 8 (5 mm) needles. You cast on 18 stitches, work the two rows until the strip is about 19 inches (48 cm) long, bind off in pattern and seam the short ends.
Frequently asked questions
Can I knit 1x1 rib on an odd number of stitches?
Yes. Start right-side rows with k1 and then repeat p1, k1 to the end. Start wrong-side rows with p1 and then repeat k1, p1 to the end. This puts a knit column at both edges of the right side. It takes two different rows instead of one.
Which is stretchier, 1x1 or 2x2 ribbing?
Both stretch well. In general 2x2 rib draws in more and has a bolder look, while 1x1 rib is neater and a little flatter. The yarn and needle size matter as much as the rib itself, so knit a small sample if the fit of a cuff or brim is important.
Why is my ribbing getting wider as I knit?
You are almost certainly adding stitches by carrying the yarn over the needle when you switch between knit and purl. Each of those loops becomes a new stitch on the following row. Move the yarn between the needle tips instead, and count your stitches every few rows to catch it early.