How to Bind Off Knitting: The Basic Bind-Off for Beginners
Learn the basic bind-off: knit two stitches, lift the first over the second, and repeat across the row. Also covers fastening off the last loop, keeping the edge loose and binding off in pattern.
Tutorial at a glance
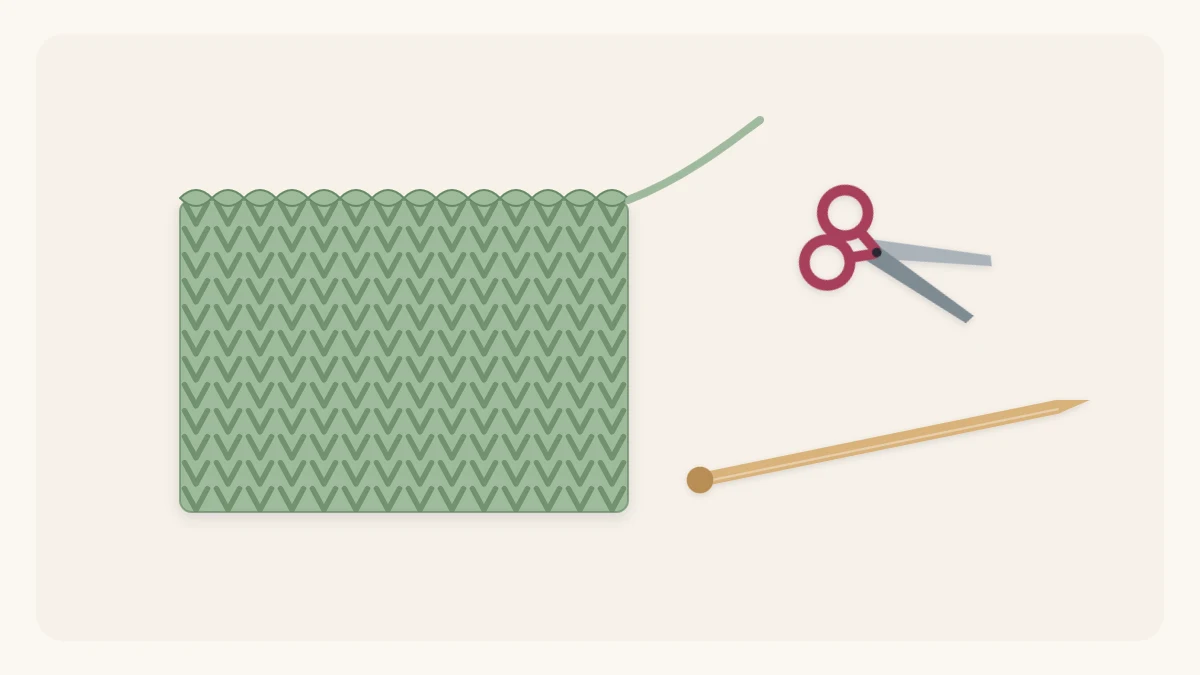
Materials
- A practice swatch still on the needles
- US 8 (5 mm) needles
- Scissors
- Tapestry needle
- Optional: a needle one or two sizes larger
Once you know how to bind off knitting, you can finish what you start. Binding off closes the last row of live loops so the piece can come off the needles without unraveling. Until then, every stitch is only held in place by the needle.
The basic bind-off uses a stitch you already know, the knit stitch, plus one new move: lifting one stitch over another. It takes a few minutes to learn and works for scarves, dishcloths, blankets and most other beginner projects.
What you need
- Your knitting, still on the needles, with the working yarn (the strand that runs to the ball) attached
- Scissors
- A tapestry needle for the yarn ends
- Optional: a needle one or two sizes larger than the ones you knit with
If you are practicing, cast on 20 stitches and work a few rows of the knit stitch first, so you have something to finish.
The basic bind-off, step by step
Start at the beginning of a row, with the full needle in your left hand.
- Knit the first two stitches as usual. You now have two stitches on the right needle.
- Insert the tip of the left needle into the front of the first stitch you knit. That is the one farther from the tip of the right needle.
- Lift that stitch up and over the second stitch, and let it drop off the tip of the right needle. One stitch remains on the right needle, and one stitch has been bound off.
- Knit one more stitch, so there are two stitches on the right needle again.
- Lift the first over the second and off, as before.
Repeat steps 4 and 5 across the row. You finish with an empty left needle and a single stitch on the right needle.
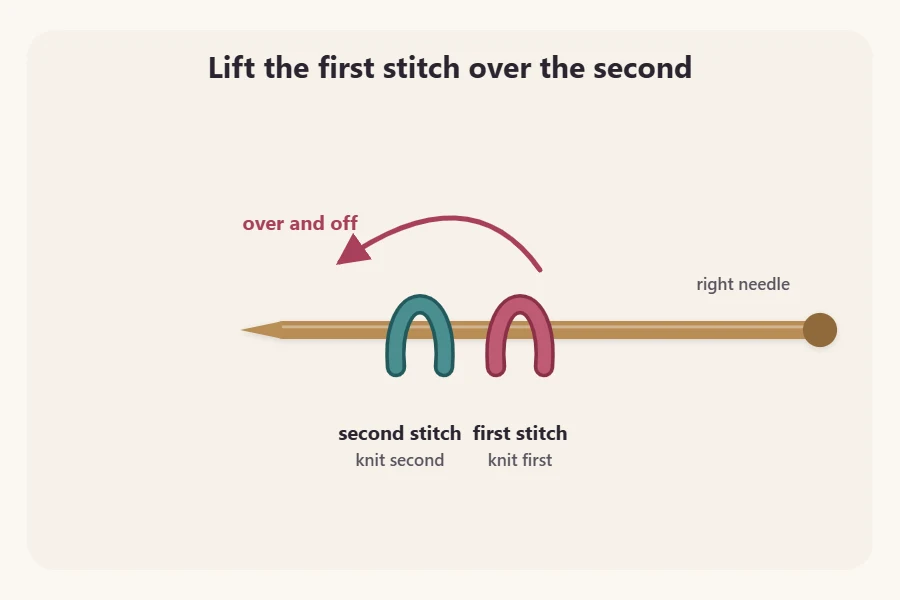
Hold the second stitch in place with your right index finger as you lift, so that both stitches do not come off together.
Fasten off the last stitch
One loop is left, and it will unravel if you simply drop it.
- Cut the working yarn, leaving a tail of about 6 inches (15 cm).
- Pull gently on the last loop to make it larger, then slide the needle out.
- Thread the cut tail through the loop and pull it snug.
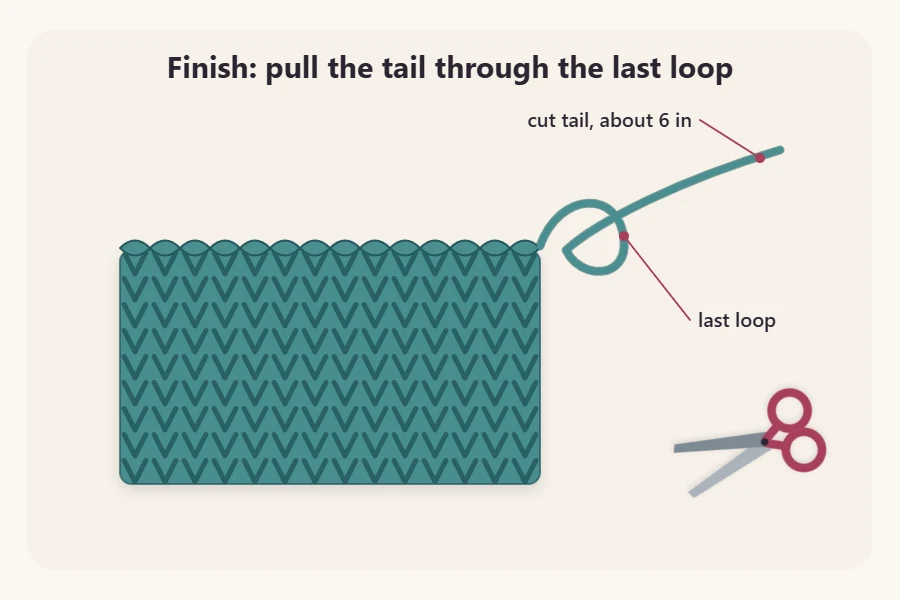
The edge is now secure, and you should see a neat chain of sideways Vs running along the top.
Keep the bind-off loose
A bound-off edge has less stretch than the fabric below it. If you work it tightly, the top of the piece pulls in and puckers, and a scarf ends up narrower at one end than the other.
- Knit each bind-off stitch a little more loosely than usual.
- Do not tug the working yarn after lifting a stitch over.
- If your edges still come out tight, hold a needle one or two sizes larger in your right hand for the bind-off row only.
Tip
Stop halfway across and lay the piece flat. The bound-off edge should be the same width as the knitting beneath it. If it is drawing in, undo those stitches and work them more loosely.
Binding off in pattern
Some patterns tell you to bind off “in pattern.” That means you work each stitch the way the stitch pattern asks for, knit or purl, before you lift the previous stitch over it. On ribbing, you knit the knit stitches and purl the purl stitches as you go.
The lifting move does not change. Remember to pass the yarn between the needle tips, to the back before a knit and to the front before a purl, just as you do when you knit ribbing.
Binding off in pattern keeps a ribbed edge stretchy and tidy. The easy knit headband pattern ends this way.
Reading bind-off instructions
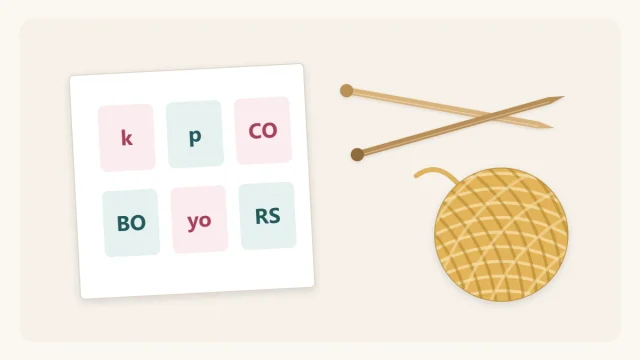
In written patterns, bind off is shortened to BO and stitches to sts. “BO all sts” means bind off every stitch in the row. “BO loosely” is a reminder about the stretch of the edge.
When a pattern asks you to bind off a set number, such as “BO 5 sts,” count each stitch as it is lifted over and off. The two stitches you knit at the start are not two bound-off stitches. Only one of them has been bound off after the first lift.
Fixing common bind-off problems
The edge is too tight
Undo it. Pull the tail back out of the last loop and tug the yarn gently so the bound-off stitches release one at a time, slipping each freed loop back onto a needle. Then bind off again more loosely or with a larger needle.
The last corner sticks out
A slightly loose, pointed final stitch is normal with this bind-off. You can neaten it when you weave in the tail by taking the tail down into the edge of the fabric.
You lifted two stitches over at once
Put the stitches back on the right needle and repeat the lift with only the first stitch. A dropped loop on this row can run downward, so catch it quickly.
What comes after the bind-off
Two yarn tails are left hanging: one at the cast-on edge and one at the bind-off. Thread each onto a tapestry needle and hide it on the wrong side of the fabric. The steps are in how to weave in ends.
With casting on, the knit stitch and the bind-off, you have everything needed for a complete project. The easy garter stitch scarf pattern uses those three skills and nothing else.
Frequently asked questions
Why is my bind-off edge so tight?
The lifting move takes slack out of each stitch, so a bind-off worked at your normal tension ends up firmer than the fabric below. Work the stitches more loosely than feels natural, or use a right-hand needle one or two sizes larger for that row. The edge should match the width of the piece.
How much yarn do I need to bind off?
A bind-off row uses noticeably more yarn than a plain row. A common rule of thumb is to keep a length of roughly three to four times the width of the piece, plus about 6 inches for the tail. If you are running short, it is safer to take out a row first.
Can I bind off on a purl row?
Yes. You can bind off from either side of the work. On a purl row, purl two stitches and lift the first over the second, then purl one and lift again. This is often called binding off purlwise, and it gives the same secure edge with the chain tipped toward the other side.